Master the Art of Personalised Birthday Cards: A Comprehensive Drawing Guide
Mattheu McBarnett
December 29, 2023 · 10 min read
Choose a Theme for Your Card |
Gather Your Materials |
Plan Your Design |
Start with a Sketch |
Add Color and Texture |
Personalize with a Message |
Add Final Touches |
Conclusion |
What does personalising a hand-drawn birthday card entail? |
Where should you place the personalised message on a birthday card? |
How can you make a personalised message stand out? |
What are the recommended final touches to a hand-drawn birthday card? |
How does choosing specific colours and shapes for a birthday card help? |
We've all been there. You're invited to a birthday party and you've got the perfect gift, but the card? Not so much. It's either too generic or just doesn't capture the essence of your relationship with the birthday person. Well, I'm here to change that.
Drawing your own birthday card isn't as daunting as it sounds. In fact, it's a fun and creative way to add a personal touch to your gift. It shows thoughtfulness, effort, and can be a keepsake that'll be cherished long after the birthday candles are blown out.
Choose a Theme for Your Card
Next on our agenda, let's focus on one of the crucial steps in creating a hand-drawn birthday card - Selecting a suitable theme. The chosen theme will be the beacon guiding your creative endeavour, influencing your colour choices, design style and overall aesthetics of your card.
the theme must be personal and relatable to the person receiving the card. It's not just about drawing pretty pictures. It's about capturing the interests, hobbies, or personality traits of the birthday person. For example, if they're an avid traveller, your theme could revolve around world landmarks or globetrotting escapades. If they're a lover of fashion, your card could incorporate stylish illustrations, and so forth. The end game is to make the person feel special and understood, visually resonating with their passions.
To aid you further in this selection process, here are a few popular themes that can be easily adapted:
- Children's favourites: Characters from cartoons, superheroes, princesses, or a fun animal theme.
- For the nature enthusiast: Beautiful landscapes, floral, fauna or a beach scenario.
- For the sports lover: Figures engaging in their favourite sport, sports equipment or motifs.
- For foodies: Drawings of cocktails, sweets, or their favourite meal.
Remember, you're not confined to these ideas. They're just starting points. Exploring outside this box is encouraged and can result in a truly unique birthday card that perfectly mirrors the recipient.
Further along our journey, we will delve deeper into the specific techniques you can use to bring these themes to life on your card. Stay tuned as we venture forth into the realm of moving from ideas to actual designs.
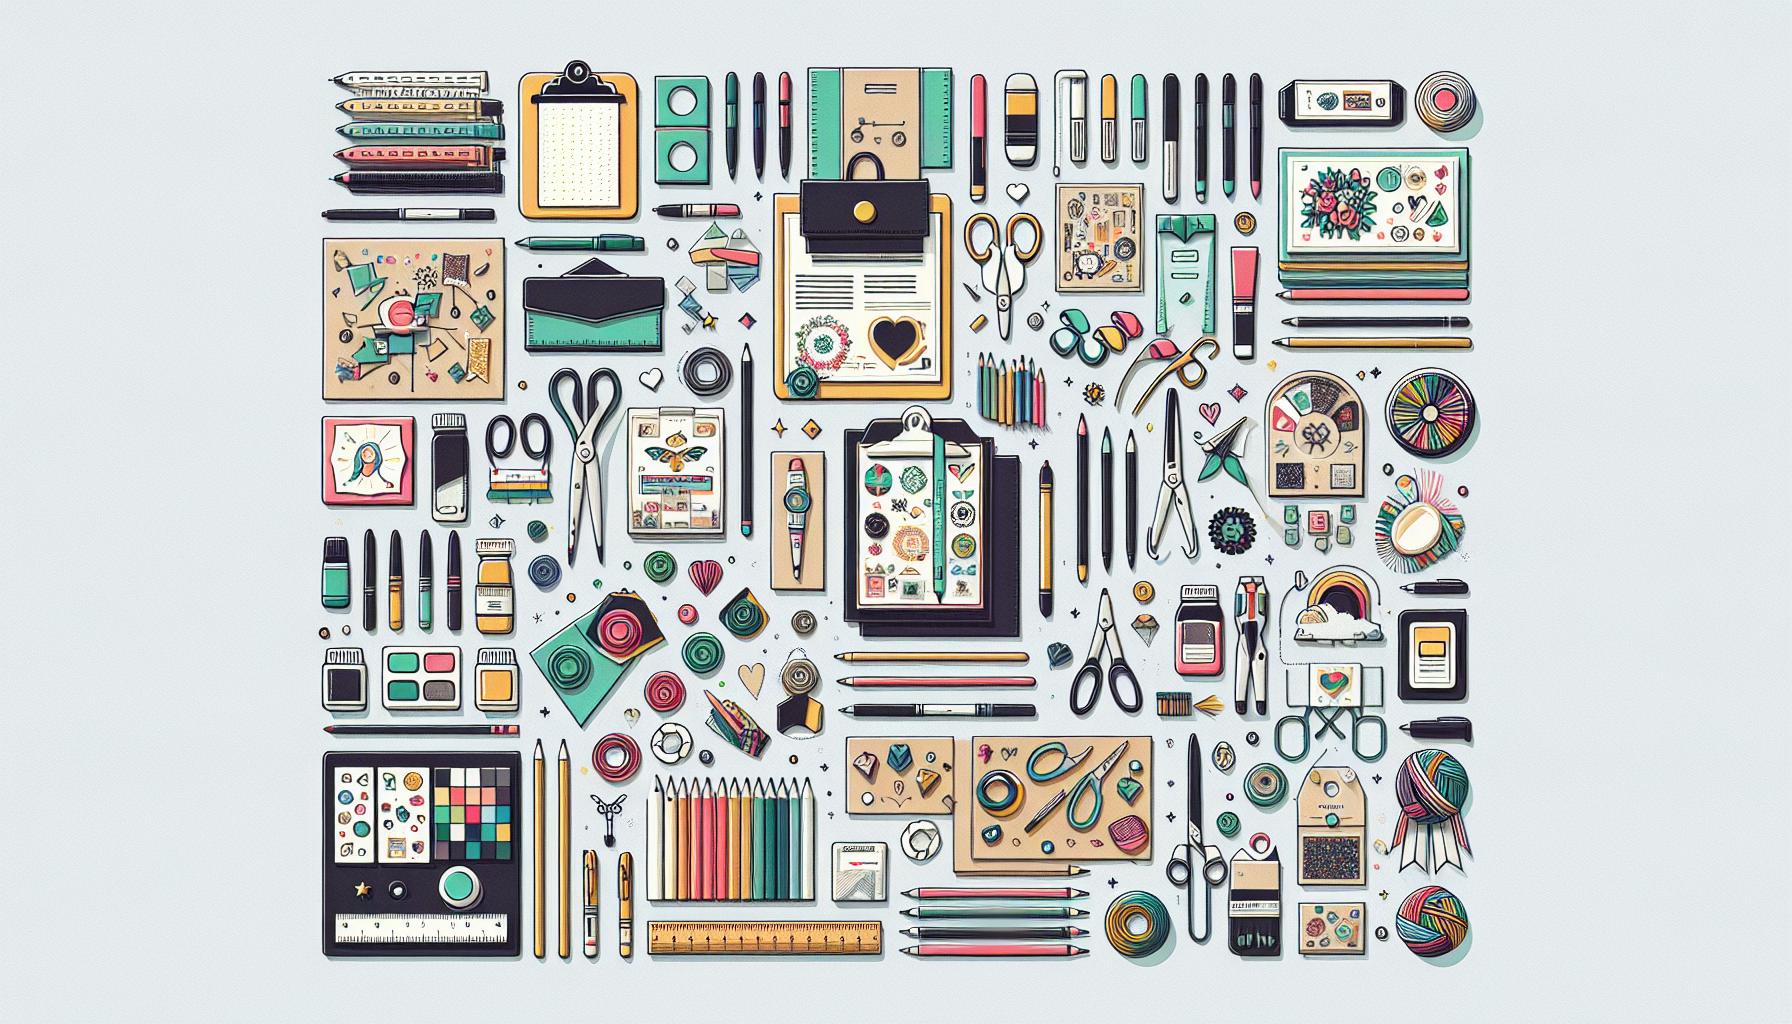
Gather Your Materials
Having landed on a theme that embodies the recipient's personality or interests and pushes all the right emotional buttons, it's time for the next crucial step in creating a custom hand-drawn birthday card—accumulating the right sort of materials.
My first recommendation? Invest in a quality cardstock. Ideally, it should be sturdy enough to support your artwork without bending or buckling. I'm not saying you should break the bank, but going low-cost on your base card can compromise the overall look and feel of the finished product.
Second, and equally important, pick up a varied set of drawing tools. From markers and coloured pencils to watercolour brushes and fine liners, these will be your best buddies to capture even the most nuanced elements of your chosen theme. Ensuring that you have a range of hues and thicknesses can elevate the aesthetic of your birthday card and bring your vision to life.
If you're planning to add some glitz and glamour to your birthday card, source some decorative elements. Glitters, stickers, ribbons, or even 3D pop-up elements can give your card a dash of extra charm.
Let's quickly break down what you might need with a table summary:
| Materials | Purpose |
|---|---|
| Cardstock | To serve as the base for your artwork |
| Drawing tools | To help bring your chosen theme to life |
| Decorative elements | To add some pizzazz to your card |
Once you have your materials at hand, the real fun begins. In the next section, I'll offer my tried and tested techniques to infuse your hand-drawn birthday card with elements of your chosen theme. Expressing your creativity, the possibilities are frankly endless. We'll explore the step-by-step process, and I promise that by the end of it, you'll be armed with all the skills you need to craft a bespoke birthday card that'll be treasured for years to come.
Plan Your Design
Planning is key to creating a standout hand-drawn birthday card. With the right materials gathered, it's time to inject your personality and vision into the design. Remember, this is one of the reasons why hand-drawn cards stand out - no two designs are identical.
First off, decide on a theme. Is it going to be colourful balloons, adorable animals, or a picturesque landscape? The birthday person's interests could guide this decision. If they're a fan of plants, consider a botanical theme; if they love the sea, perhaps a beach or nautical theme would be best.
The theme not only influences your artwork but also the decorative elements you add later on. Glitters, stickers, ribbons, or 3D pop-up elements ought to align with the core theme.
Once you have your theme, sketch out your design on plain paper before transferring it to the cardstock. This prevents errors that could ruin the birthday card. Again, don't fret about creating a perfect piece of artwork. It's the love, time, and effort you pour into the card that will shine through the most.
Creating each element of your card requires careful thought. Consider how the pictures will be arranged on the card. Will they border the edge, be centred, or spread around?
Consider the colour palette too. It should complement the theme you've chosen. For example, a nature-themed card might focus on greens, browns and blues. Whereas a space-themed card might utilise blacks, purples, and metallics.
While planning, it's beneficial to look at your card and imagine how it will look when opened. This'll help you decide where to place certain elements - particularly if you're incorporating pop-up aspects.
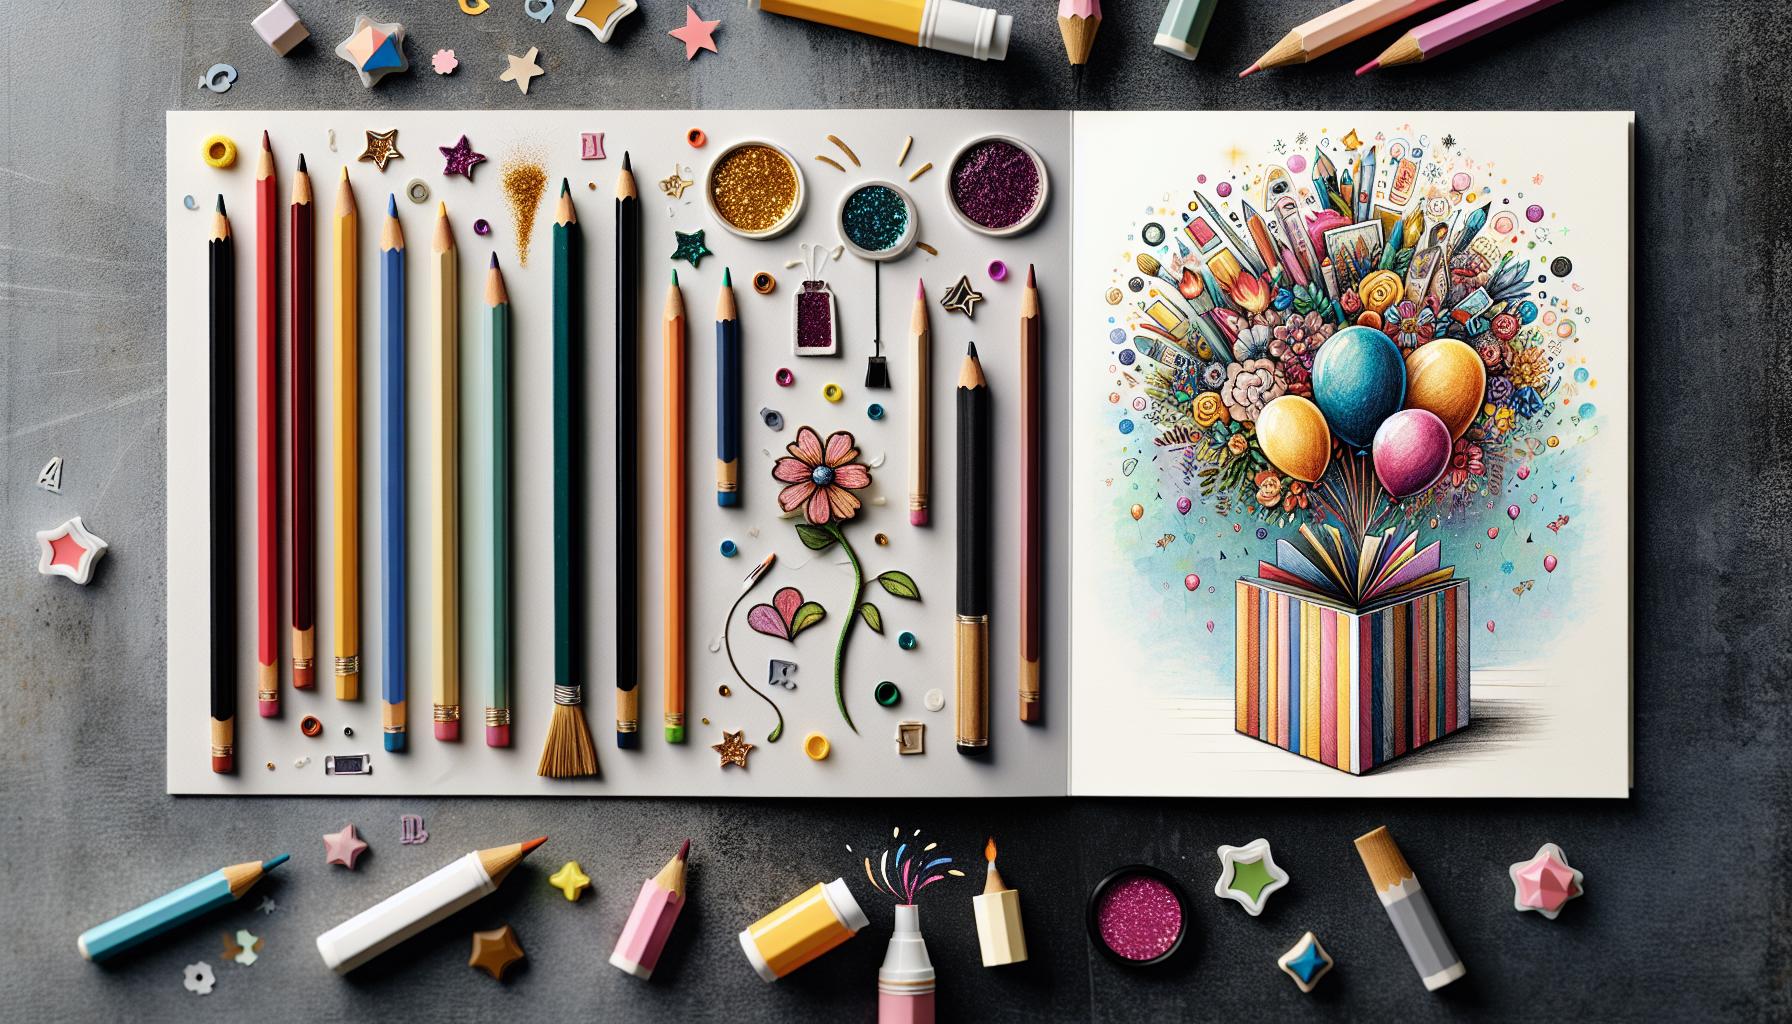
Start with a Sketch
Once you've planned your design, it's time to get it down on paper. Now, don't go rushing straight into the final card. One practical tip I've gathered through the years is to begin with a sketch. You don't have to be a Leonardo Da Vinci for this.
Use plain paper first, and put down light lines with a pencil. You're not seeking perfection at this initial stage. It's all about visualising your thoughts and getting an understanding of the layout. Drawing, erasing, and redrawing is all part of the process. Remember, it's much easier to correct your design in this early stage than to try and fix it when it's on the cardstock.
Next, consider your design's size and scale. Cards come in various sizes: A4, A5, A6, and so on, each with a unique fold. You should contemplate whether your design fits the selected card type before proceeding. Drawing to the exact size on your sketch can give you a better perspective.
Got some space left on the edges? Don't forget to factor in margins. No amount of artistic brilliance stands out on a cramped card. Consider your margins as breathing space for your design - they're vital.
Once your sketch begins to make sense to you, that's when you bring in the colours. The initial step here is to incorporate your chosen colour palette into the sketch. This helps in estimating how the colours will interact with each other and how they impact your overall design. Colours can evoke emotions. Warm hues might suggest happiness and vitality, cool tones can convey calmness and peace, and a clever mixture of both can create balance and contrast. Thus, understanding the interplay of colours is essential.
In the end, always remember, a hand-drawn card is a labour of love, and its perfection lies in its imperfections. So don't stress the small stuff and enjoy the process. Now, let's dig into some technical aspects kind of cardstock and what tools work best with them. You've come this far, after all.
Add Color and Texture
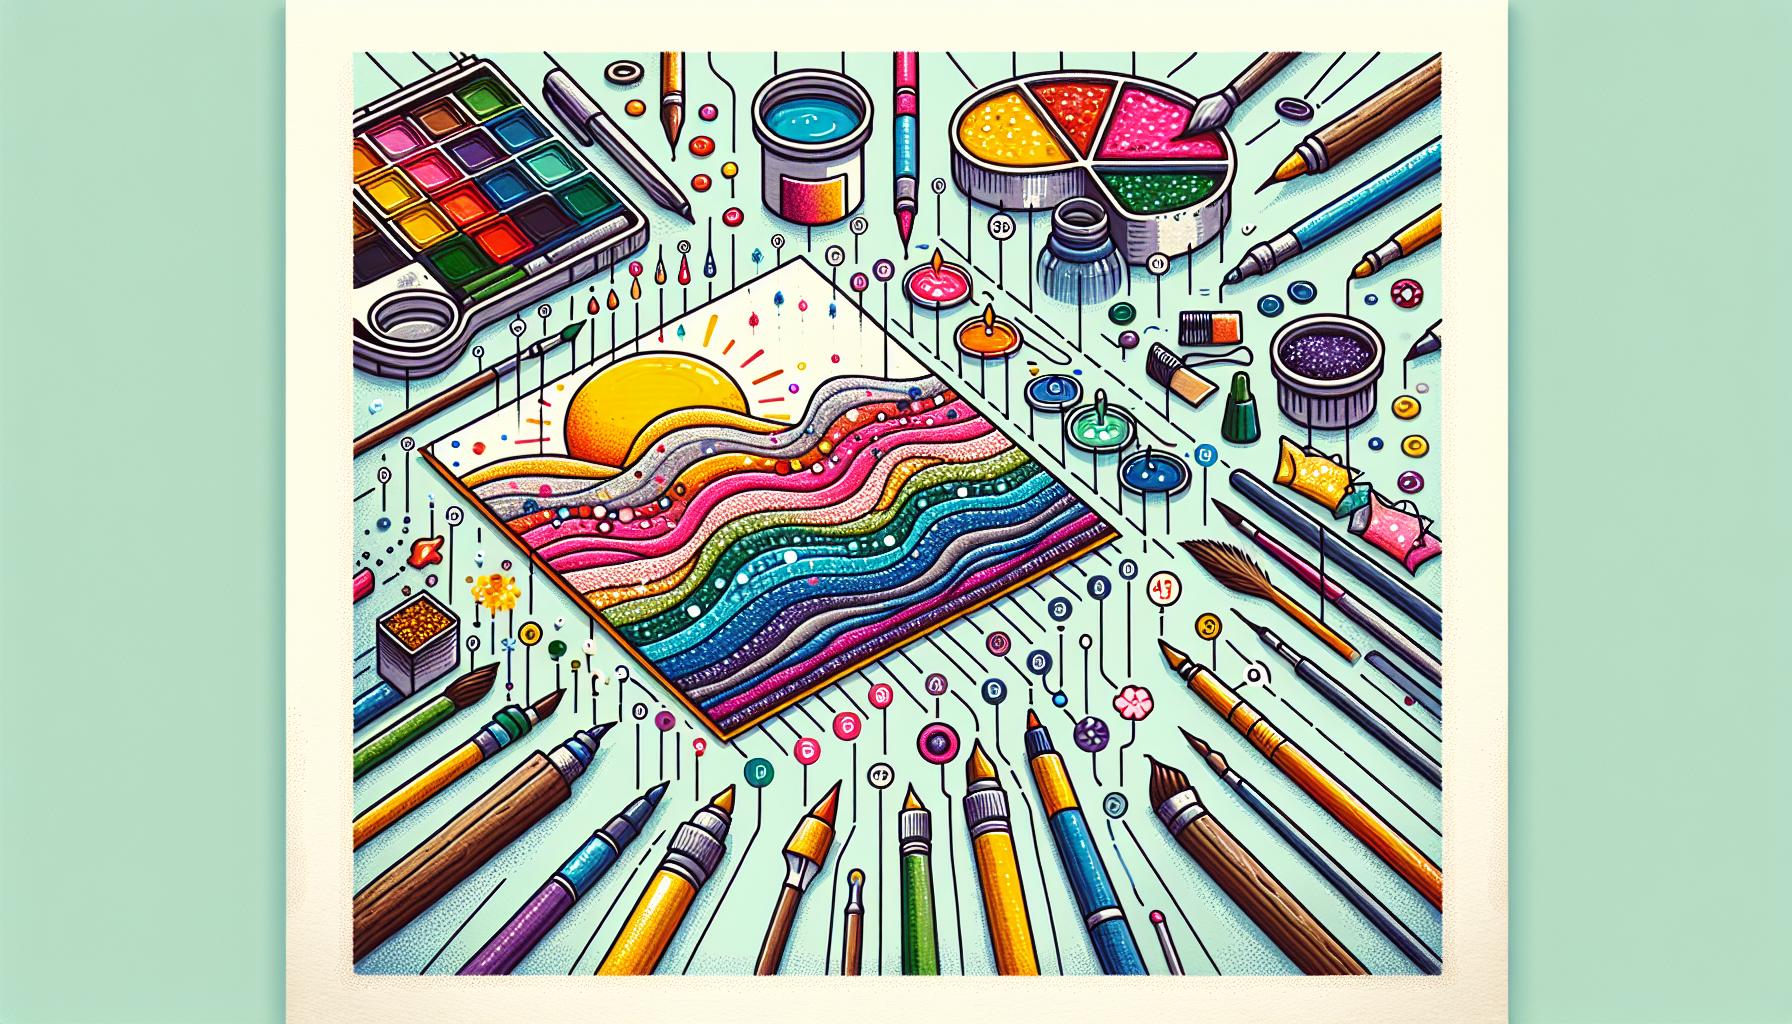
Once you've sketched out your design and you're happy with the layout, it's time to add some vibrancy and depth. This is where your chosen colour palette and textural elements come into play.
Starting with the colour, you'll want to take it slowly. Gradually applying colour allows for fine-tuning and control over your design. I've found that layering your colours gradually can create a richer, more varied look. Try starting with lighter shades and gradually building up to your darker tones. Remember not to rush; it's a process to enjoy. Slowly working through allows you to spot any potential changes you'd like to make.
For texture, I recommend introducing this via your chosen tools. Pen and ink can leave a distinctive, bold line, whereas watercolours allow for a softer, blended appearance. It's important not just to think about the look of your design but also how it feels to the touch. Adding elements such as fabric or glitter glue can give a tactile element to your card, making it truly one-of-a-kind.
Lastly, consider highlighting key parts of your design by adding embellishments. These could be anything from a simple sparkle on a balloon to finely detailed glitter on a cake. Glitter is not the only way though! You could also use sequins, rhinestones, or even small pieces of ribbon.
Important Note: Don't overdo the embellishments; the receiver should still be able to see and appreciate your hand-drawn artwork. The embellishments should bring out the best in your card, not overshadow it.
Stay tuned as in the next section, we'll be talking about different cutting techniques, shapes, and how to add a 3D effect to your card to give it that extra pop.
Personalize with a Message
Now that we've explored enhancing our card through colour, texture and tactile elements, it's time to navigate through the most sentimental part of creating a card – personalizing it with a heartfelt message. A message is unique to the recipient and it sets the direction of our card's narrative.
Creating a personalized message could seem like a daunting task, but it doesn't have to be. When crafting a message, I tend to keep in mind the tone, the relationship with the recipient, and what the celebration means to them. It can be as simple as "Happy Birthday, 'Friend's name'" or as detailed as recounting a shared memory, an inside joke, or a heartfelt wish.
It's important to choose the location of our personal message wisely. Perhaps we'd want it to be the first thing noticed when the card is opened, or maybe it's more a subtle accent to our artful designs. There's no fixed rule – it all depends on the overall design and personal style.
To make our message pop, we can use calligraphy or hand-lettering. These artistry techniques add an element of sophistication to our cards. Alternatively, if you're worried about your handwriting, pre-made stickers or die-cut letters are fantastic options.
Incorporating a personal message adds a level of intimacy and thoughtfulness that a store-bought card simply can't emulate. It's a tangible form of our love, admiration and good wishes for the recipient, making the birthday card that much more special.
Moving on, let’s delve into the exciting realm of cutting techniques, shapes, and adding a 3D effect to the card. These are skills that will take your card from homemade to professional-grade.
Add Final Touches

Having successfully added an intimate, personalised message to the card, it's now time to bring out the creative artist in you. Whether you're a novice or pro, artwork and colours will give totality to your heartfelt message. Here, we'll delve into some standout techniques such as cutting, shaping, and creating a 3D pop-up effect which you can choose from or mix and match to your liking.
Everyone knows that first impressions last. That’s why cutting the card in unique, artistic shapes can draw the recipient in even before they read your message. Classic shapes include rectangles or squares, whilst more adventurous ones might be hearts, stars or the recipient’s favourite animal. You'll need to carefully choose a shape that suits your card and resonates well with your recipient.
The next step is to add colour. This might seem an obvious feature yet colours hold much meaning. Yellow symbolises happiness and optimism, green is associated with nature and tranquillity and red signifies love and passion. It's essential to pick a colour or a combination that express your feelings and convey the right message.
Another technique you can use to make your card stand out is by creating a 3D pop-up effect. This also adds an element of surprise for the recipient. It's not as daunting as it might seem - with a little practice you'll be able to create stunning pop-up effects that will truly amaze your loved ones.
Learning these eye-catching techniques isn’t just rewarding; it's also a fun-filled route of exploring art and expressing your raw emotions. So the next time you're making a birthday card, think beyond the customary flat card. Add some 3D magic, bold colours and unique shapes. It's all about ensuring your recipient experiences a wow factor and feels the love that’s packaged within your handcrafted, personalised birthday card.
Conclusion
What does personalising a hand-drawn birthday card entail?
Personalising a hand-drawn birthday card involves crafting a heartfelt message that reflects the relationship with the recipient, the tone of the occasion, and meaning of the celebration. The positioning of the message and the choice of enhancements such as calligraphy or stickers also play a role in personalisation.
Where should you place the personalised message on a birthday card?
The article suggests choosing the location of the personalised message wisely on the card. However, an exact place isn't explicitly recommended as it can vary depending on the content and design of the card.
How can you make a personalised message stand out?
A personalised message can stand out by using calligraphy or pre-made stickers. These elements add aesthetic appeal to the message and make it more striking.
What are the recommended final touches to a hand-drawn birthday card?
The final touches to a hand-drawn birthday card may involve using cutting techniques, creating unique shapes, or adding a 3D pop-up effect. These touches are meant to add uniqueness and act as an expression of emotion.
How does choosing specific colours and shapes for a birthday card help?
Choosing specific colours and shapes helps to convey the right message on a birthday card. As these elements are often linked to various meanings and emotions, they can further personalise and add depth to the hand-drawn card.
Sign up for more like this
© 2024 Silly Robot Cards. All rights reserved