Easter Crafts: Make Cards for Kids
Mattheu McBarnett
January 06, 2024 · 13 min read
Materials Needed |
Organizing Your Workspace |
Preparing the Materials |
Step 1: Gather Inspiration |
Step 2: Choosing Card Designs |
Step 3: Gathering Materials |
Step 4: Creating Card Bases |
Step 5: Adding Easter Elements |
Step 6: Adding Personal Touches |
Step 7: Adding Messages and Greetings |
Step 8: Finishing Touches |
Conclusion |
Frequently Asked Questions |
What are some suggestions for materials to add to children's Easter cards? |
How can I protect the artwork on the Easter cards? |
Is it a good idea to personalize Easter cards? |
What should I consider when presenting the Easter cards? |
Easter's just around the corner, and I'm excited to share some creative fun with my little ones. Making Easter cards is not only a perfect craft to get into the holiday spirit, but it's also a fantastic way to spark that creativity in children.
I've discovered that nothing beats the joy on kids' faces when they're crafting something special for friends and family. So, I've put together a simple guide that'll help you create unforgettable Easter cards with your children, filled with colour, glitter, and loads of cuteness!
Whether you're a crafty pro or a beginner, these easy-to-follow steps will ensure you and your kids have a blast. Get ready to unleash a world of imagination and make this Easter a memorable one with handmade cards that'll be cherished by all who receive them.
Materials Needed
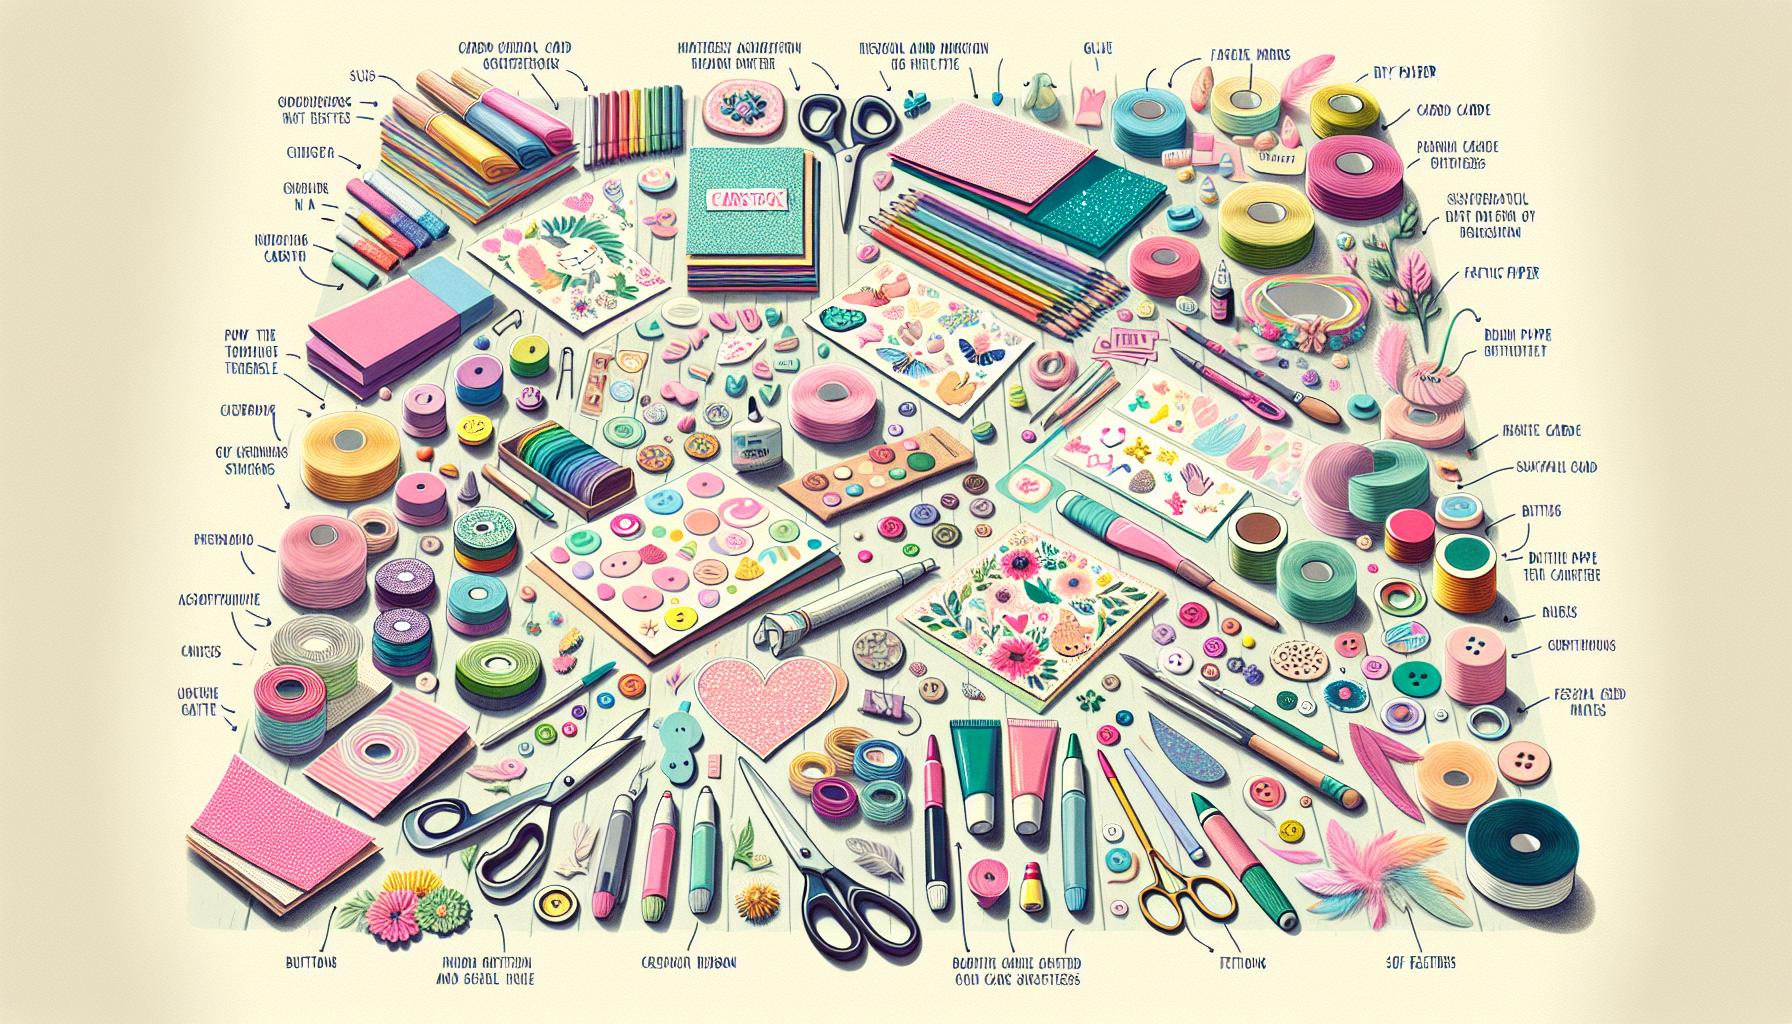
Before diving into the fun of crafting, it's crucial to gather all the necessary materials. Here's what you'll need to create dazzling Easter cards that'll capture the hearts of both young and old:
- Cardstock in various colours for a sturdy card base
- Patterned paper or Easter-themed scrapbook paper
- Glitter for that necessary sparkle
- Glue sticks or double-sided tape for mess-free adhesion
- Safety scissors perfect for little hands
- Stickers and embellishments themed around Easter
- Markers, coloured pencils, and paints for personal touches
- Stamping tools if you're up for intricate designs
- Envelopes to fit your finished cards
Make sure you've got plenty of each item—a lack of supplies mid-project can quickly dampen the festive mood.
Organizing Your Workspace
Getting your space ready is just as important as having your materials. Make sure there's a clear area for crafting, with containers or dividers to sort materials and prevent any mix-ups. A plastic tablecloth can protect surfaces from spills and makes cleanup much simpler. Keep a small bin nearby for waste to keep the workspace clutter-free.
Ensuring everything is within arm's reach simplifies the process and keeps the focus on creativity and enjoyment. It's surprising how much more productive and enjoyable card making can be when you're not constantly searching for a misplaced pair of scissors or that one elusive sticker sheet.
Preparing the Materials
Before the kids dive in, it can be helpful to pre-cut shapes, or fold cardstock in preparation, especially for younger children. Preparing some materials beforehand can streamline the process and help maintain their interest from start to finish. It's also the perfect opportunity to talk through any safety rules with scissors or other tools, making sure that the crafting experience is not only enjoyable but also safe.
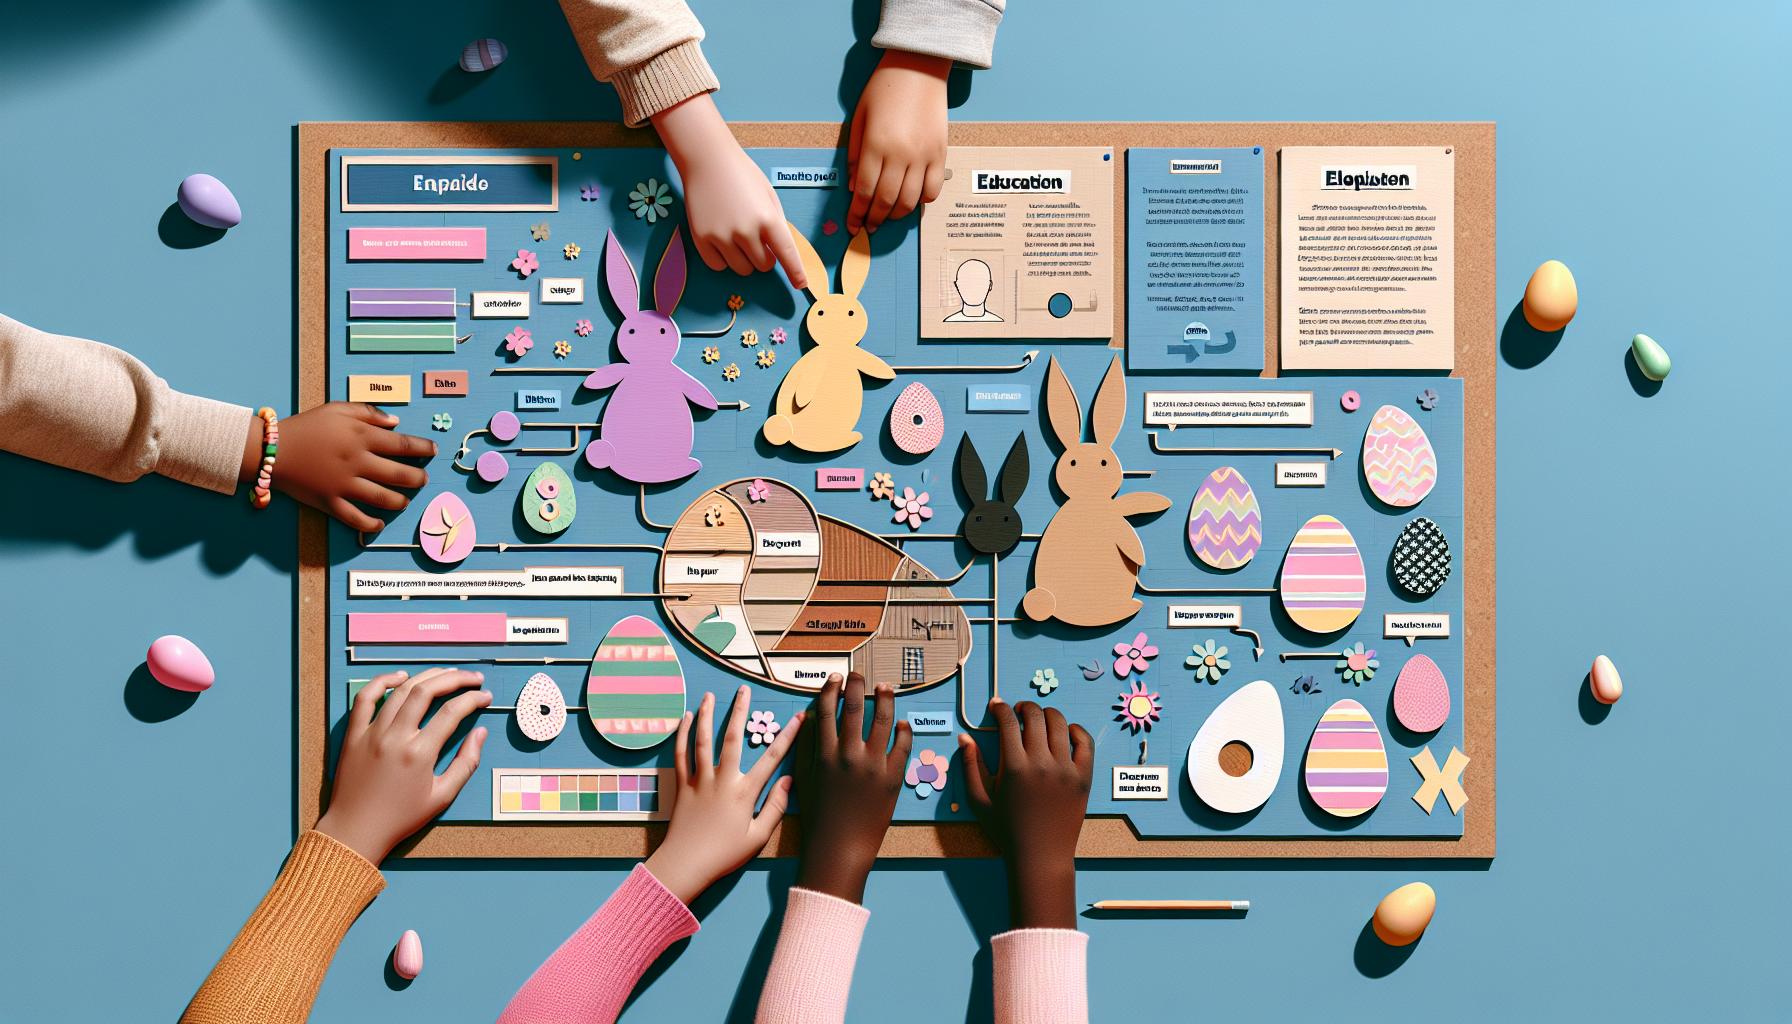
Step 1: Gather Inspiration
Before diving into the creative process, I always find it essential to seek out inspiration. With Easter cards, there's a vast array of themes and styles to choose from. I look to sources like Pinterest, crafting blogs, and even local stationery stores to kickstart my imagination. Remember, the aim is to spark creativity, not to copy designs. Encouraging children to find patterns, colours, and themes that excite them is part of the fun.
For a structured approach, I suggest focusing on the following:
- Seasonal Imagery: Easter is synonymous with certain images such as eggs, bunnies, and spring flowers. Introduce these to the kids and see which resonate with them.
- Colour Schemes: Pastel hues are traditionally associated with Easter. However, don't shy away from vibrant colours. A dash of neon or a glitter accent can add a modern twist.
During this inspiration phase, I often guide the children through creating a mood board. This can be a simple collection of images and materials that showcase their preferred styles. It's also a fantastic way to integrate educational elements, such as discussing different types of flowers or the symbolism of Easter within various cultures.
Maintaining an open dialogue about their choices helps keep them engaged. I ask questions like, "What makes you choose this colour?" or "Why does this picture make you think of Easter?" This not only hones their decision-making skills but also provides a deeper understanding of their artistic inclinations.
After gathering all the visual stimuli, it's usually clearer what direction the card-making session will take. Armed with this plethora of ideas, the next step is translating them into tangible card designs, which is where the real crafting begins.
Step 2: Choosing Card Designs

After finding inspiration and creating a stunning mood board, it's time to dive into the heart of our Easter craft: selecting the perfect card designs. This stage is all about unleashing creativity and translating those ideas into tangible card designs. I like to encourage kids to let their imaginations run wild here because Easter cards are a personal expression and a joyful way to connect with friends and family.
First, consider the card format. Whether it's a traditional folded card or a more unique shape like an egg or a bunny, each design offers a different canvas for decoration. For younger kids, straightforward shapes are easier to handle and decorate. Older children might enjoy the challenge of intricate designs.
Here are a few design ideas that typically captivate children:
- Pop-up cards that spring to life when opened
- Interactive cards with elements to move or change
- Cards incorporating mixed media, such as fabric or nature items
Remember the colour schemes discussed earlier? Now's the time to apply those choices. Soft pastels are emblematic of Easter, but vibrant hues can make the cards stand out. Mix and match to see what resonates with the kids.
Texture plays a vital role in the sensory experience of making and receiving cards. Embellishments like ribbons, lace, or buttons can add a tactile dimension. Encourage kids to explore different materials, combining them to see what looks and feels the best.
Safety Tip: Keep in mind that smaller decorative elements can be a choking hazard for young children. Always supervise and opt for larger, safer embellishments when necessary.
The beauty of homemade Easter cards is that they're as unique as the children creating them. Every smudge, sticker, or glittery swirl is a testament to their creativity and joy. With our design ideas in tow, it's exciting to move on to the next step: bringing these designs to life with an array of artistic techniques.
Step 3: Gathering Materials
Once you've got the card design down, it's time to gather the materials you'll need. The right supplies can turn a good Easter card into a great one, and I've got some tips on what to pick up for an engaging crafting session.
First off, you'll need cardstock or heavy paper as the base for your Easter cards. Choose pastel colours or even patterned paper that ties in with your chosen colour schemes. Here are some additional essentials to add to your list:
- Scissors for cutting shapes and edges
- Glue sticks or double-sided tape for easy adhesion without the mess
- Markers, crayons, and coloured pencils for drawing and colouring
- Easter-themed stickers to add charm and character
- Ribbon and lace for a touch of elegance
- Glitter and sequins for a bit of sparkle
Exploring different textures can greatly enhance the sensory experience for children. You might want to consider some less conventional materials as well, such as:
- Fabric scraps for a 3D effect
- Buttons to serve as embellishments
- Tissue paper which can be scrunched up for a fun texture
- Feathers to give a soft touch to your card
And let's not forget about the potential of upcycling. Empty cereal boxes can be repurposed as sturdy card bases, and old magazines offer a wealth of colourful imagery perfect for cutting out.
Before you begin crafting, make sure to organise your materials. Having everything on hand will streamline the card-making process, allowing you and the kids to focus on the fun part—creation. An organised workspace sets the tone for a hassle-free and enjoyable crafting experience.
Engaging children in the material selection can be part of the excitement. Let them touch and choose from the array of supplies. Not only does this foster creativity, but it also gives them ownership of the project, making the crafting experience truly personal and memorable.
Step 4: Creating Card Bases
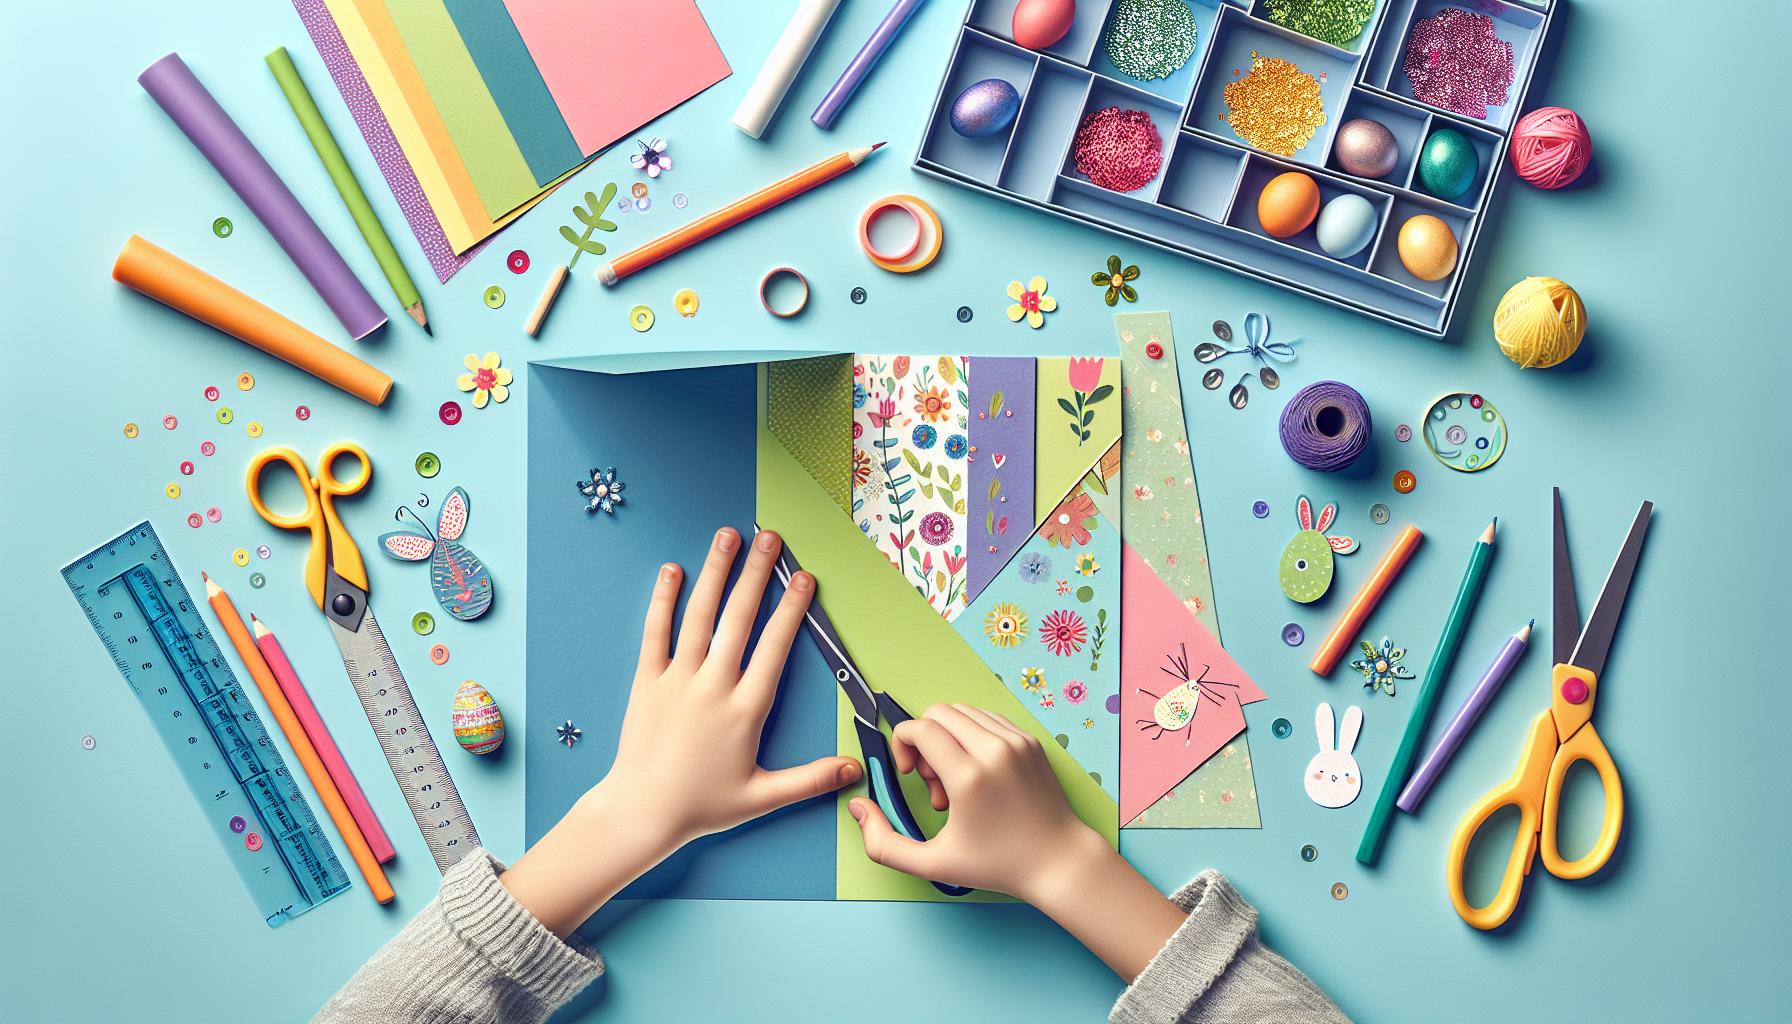
After choosing the right materials, it's time to jump into creating the card bases which are the canvas for our Easter greetings. I'll guide you through the simple process of creating a sturdy base that'll withstand all the decorative creativity you and the young ones are ready to unleash.
For your standard card bases, you'll typically want a heavy cardstock, which provides the necessary rigidity. Size is also crucial; A4 cardstock works brilliantly as it allows ample space for decorations and can be easily folded into A5 cards – a popular size that's not too large nor too small for children to handle.
Here's a step-by-step guide:
- Cut the Cardstock: If you're using A4-sized cardstock, simply fold it in half to create your A5 card bases. If you're starting with a larger piece of paper, use a ruler and a pencil to measure accurately before cutting. Safety scissors can be a good option for older children to practice their cutting skills, under supervision.
- Fold the Cardstock: Once cut, fold the cardstock carefully along the middle. Using a bone folder or the back of a knife can help create a crisp fold without any unsightly creases.
- Press the Fold: It's vital to ensure that the fold is pressed down firmly. For best results, you can place a book or a heavy object on the folded cards for a few minutes.
Encourage the kids to participate in creating their card bases. This not only helps them feel involved but also teaches them basic crafting skills. While working with them, remind them to:
- Work on a flat surface
- Align edges before folding
- Go slow and steady
Remember, the goal is to craft a sturdy base that can hold up the lovely decorations that’ll soon adorn these homemade Easter cards, so accuracy and care at this step will go a long way towards a beautiful end product. Now you’re set with the perfect blank canvas, you’re ready to let the imaginations run wild in the next step – adorning your Easter cards with creative and festive touches.
Step 5: Adding Easter Elements
Once we've got our sturdy A5 card bases ready, it's time to breathe some Easter life into them. Adding Easter elements is where creativity really shines and children can express their personalities.
Start by choosing the kind of Easter imagery you'd like. Popular choices often include:
- Bunnies
- Chicks
- Easter eggs
- Flowers
- Pastel colours
Next, determine the materials you'll use to create these elements. Craft supplies can range from coloured paper and glitter, to stickers and ribbons, or even fabric scraps for a tactile experience. I love mixing different textures and shades to create a layered, dynamic look on the cards.
For dimension, consider using foam pads to stick on the paper cut-outs. This creates a lovely 3D effect that is both visually appealing and fun for kids to touch.
If you're incorporating drawing or painting, ensure you have non-toxic markers or paint – safety first when crafting with little ones. Once your chosen materials are prepped and safe for use, guide the children on how to place their elements onto the card base.
To add these Easter elements onto the card base:
- Arrange the cut-outs on the card without glue first to play with layouts.
- Once you're happy with the design, use a glue stick or double-sided tape to secure them.
- If you're layering, start with the largest pieces and work your way up to the smallest.
Remember, there's no right or wrong way here; it's all about having fun and letting the kids take the lead with their creativity. Just make sure that each element is securely attached.
For durability, especially if the cards will be mailed or handed out, let the finished card sit and dry for a while. This ensures everything is firmly set and the cards won't lose their charming elements in transit.
Involving children in this step is not only enjoyable but also hones their motor skills and eye for detail. Don't forget to praise their efforts and unique creations – encouragement goes a long way in nurturing creativity.
Step 6: Adding Personal Touches
Involving children in the card-making process creates a memorable experience, but adding personal touches truly makes each card unique. I'll guide you through several ways to personalize Easter cards that'll stand out and spread joy.
Start by incorporating the child's fingerprints to create flowers or animals. These tiny marks are not just fun to make; they double as a sweet reminder of the child's size and age at this moment. To add another layer of customization, teach the children how to turn their thumbprints into Easter bunny faces – it's adorable and incredibly endearing.
Additionally, incorporating the child's handwriting can give the card a more heartfelt and authentic feel. Have the little ones write a simple message like "Happy Easter" or their names. If they're too young to write, you can have them trace over a lightly pencilled outline.
A photo of the child engaged in an Easter activity can also be a lovely addition. Stick a printed image onto the card's interior or exterior, ensuring that it fits within the design scheme you've established. This personal touch takes the Easter card from a neat craft to a keepsake.
Above all, it's vital to let the children lead in this stage, offering choices and guidance when needed to maintain a sense of ownership and pride in their creations. By adapting to their preferences and capabilities, the cards they create won't just be crafts; they'll be cherished mementos of growth and creativity.
Lastly, don't forget to tailor the personal touches to the recipient. If the card is for grandparents, for instance, they might treasure a hand-drawn picture or a poem. Friends might appreciate a playful joke, and teachers might love a card that reflects a learned skill.
Remember, each personal touch enhances the emotional value of the card, making it not just a message, but a treasured snapshot of the child's developing world.
Step 7: Adding Messages and Greetings

Once the personal touches are in place, it's time to give your Easter cards a voice. Crafting heartfelt messages is perhaps one of the most fulfilling parts of the card-making process. I always encourage kids to think about the recipient and what they'd love to hear. Whether it’s a simple "Happy Easter" or a few lines of a springtime poem, the right words can turn a charming card into a cherished keepsake.
For younger children, I find it helpful to prepare a few sample phrases for them to choose from. Don’t forget to involve them in this process, as they might want to add their own twist to the message. If they're old enough, help them craft their own greetings, as this can be an excellent opportunity to practice their writing and creative thinking skills.
Here are some sweet and simple Easter greetings that children can include:
- Wishing you a basketful of springtime smiles and flowers
- Hope your Easter is egg-stra special!
- May your day be filled with fun and your heart with joy this Easter
- Sending you an Easter hug to last the whole year through
In addition to messages, I often suggest including a personal signature or a doodle. This not only adds a fun element to the card but also teaches young ones the value of personalizing their well-wishes. You’ll find that such little details can make all the difference, turning generic greetings into a personal conversation between the sender and receiver.
By layering these heartfelt messages atop the child's artistic creations and personal touches, you infuse the card with personality and warmth. Remember that the aim is to make the recipient smile and feel the love that went into every pen stroke and painted fingerprint. Teaching kids to express their emotions through words is a valuable lesson, and crafting these cards offers the perfect practice ground.
Step 8: Finishing Touches

Once the messages have been lovingly crafted and penned, it’s time to turn our attention to the finishing touches that transform a simple card into a small masterpiece. This is where we allow the children's creativity to truly bloom and where their handiwork becomes a polished product.
I always start with embellishments. A variety of materials can be used to give the cards that extra sparkle or pop of colour. Here are a few ideas that never fail to impress:
- Glitter or Sequins: A sprinkle of glitter or some carefully placed sequins can make the cards dazzle.
- Ribbons & Lace: Tying a ribbon or affixing a strip of lace adds texture and a vintage feel.
- Stickers: Seasonal stickers are a hit with children and they’re fantastic for filling in any gaps.
- Buttons & Beads: For those who enjoy a three-dimensional element, buttons and beads make for an interesting tactile experience.
Applying a protective layer is also crucial, especially if we’re using materials that could smudge or if the card is likely to be handled frequently. A clear adhesive film or even a simple laminate sheet safeguards the children's work and ensures that their effort is preserved.
One of my personal finishing touches involves adding a photograph. Including a recent picture of the child alongside their artwork personalizes the card even further. It’s a touching reminder of the passage of time and growth, which family members particularly treasure.
The back of the card should not be neglected. Here, a printed label or a simple handwritten note with the card's creation date and the child's age at the time of making provides a sweet memento for the future. It's details like these that elevate a homemade card to a cherished keepsake.
Finally, consider the presentation of the card. Choosing the right envelope or even hand-making one adds a level of sophistication. If the card is particularly bulky, due to the use of buttons or beads, ensure it's protected and presented in a way that doesn't compromise the design. Using padded envelopes or hand-delivering the cards can be much more effective in such cases.
Conclusion
Crafting Easter cards with kids is more than just a fun activity—it's a chance to create lasting memories and tangible tokens of affection. I've shared some creative ways to add pizzazz to your cards and now it's over to you to let your imagination take the lead. Remember to cherish these moments of creativity with your little ones. The cards you've made together will surely be a hit with family and friends and the joy they bring is truly what the Easter spirit is all about. So go ahead and make those cards shine with all the embellishments you love and don't forget to protect your masterpieces for years to come. Happy Easter and happy crafting!
Frequently Asked Questions
What are some suggestions for materials to add to children's Easter cards?
You can embellish Easter cards with glitter, sequins, ribbons, lace, stickers, buttons, and beads to make them stand out and add texture.
How can I protect the artwork on the Easter cards?
Applying a protective layer, such as clear glue or a sealant spray, over the card will help safeguard the children's artwork.
Is it a good idea to personalize Easter cards?
Absolutely, including a photograph of the child or adding a personal note can make the card more meaningful and serve as a cherished memento.
What should I consider when presenting the Easter cards?
Consider the right envelope to match your card; if the card is bulky, opt for padded envelopes or hand-deliver it to ensure it arrives in good condition.
Sign up for more like this
© 2024 Silly Robot Cards. All rights reserved