Easter Craft: How to Make Pop-Up Cards Easily
Mattheu McBarnett
January 06, 2024 · 8 min read
Choosing the Perfect Design |
Gathering Supplies |
Designing the Pop-Up Element |
Cutting and Folding the Card |
Folding Techniques |
Adding the Finishing Touches |
Conclusion |
Frequently Asked Questions |
How can I enhance the appearance of my pop-up Easter card? |
What should I pay attention to when making pop-up Easter cards? |
Is it necessary to test the pop-up mechanism? |
Why is creating a custom envelope important? |
Easter's just around the corner, and what better way to add a personal touch to your celebrations than with homemade pop-up cards? They're not just fun to make; they're a delightful surprise for friends and family.
I've got a few tricks up my sleeve to help you craft the perfect Easter pop-up cards. Whether you're a seasoned crafter or a beginner, you'll find my tips easy to follow and incredibly effective.
Choosing the Perfect Design
When diving into the process of making your DIY Easter pop-up cards, I've found that selecting the right design is half the battle. Your design dictates not just the aesthetic appeal but the complexity of the project. I'll guide you through choosing designs that are not only visually captivating but also manageable, irrespective of whether you're a novice or a seasoned crafter.
For starters, consider the recipient's interests. Are they fond of flowers, bunnies, or perhaps intricate patterns? Aligning the card theme with something they adore will add a personal touch that's sure to be appreciated. Here are some design ideas that are ever-popular during Easter:
- Spring blossoms or daffodils
- Easter eggs hidden in grass
- A bunny peeking out of a hat
- Chickens and hens
Keep in mind the Colour Scheme; pastels are synonymous with Easter and add a soft, joyous feel to your cards. Think pale pinks, baby blues, gentle yellows, and mint greens. A well-considered colour palette can make even a simple design stand out.
Onto the complexity—which really comes down to the cutting and folding techniques involved. Simple cuts and folds can result in elegant designs, while more intricate details will be time-consuming but stunning. Don’t bite off more than you can chew if you're just starting. Remember, it's the thought and effort that count more than perfection.
To visualise the final product, I often sketch the design first. It gives me a clear roadmap to follow, helping to avoid any mid-project mishaps. Light pencil marks on your card can serve as guides when you begin cutting and folding.
By choosing a design that reflects the Easter spirit and your craft abilities, you'll set yourself up for a successful and enjoyable card-making experience. Next, I'll delve into the materials you'll need to bring these designs to life.
Gathering Supplies
Once you've nailed down your design, it's time to talk about materials. To bring your DIY Easter pop-up cards to life, you'll need a few essential supplies. Quality cardstock is the foundation of any sturdy pop-up card – I recommend using a medium-weight variety for the best balance of flexibility and stability. For the intricate parts of your design, you'll also want to use precision cutting tools such as craft knives or scissors that can make clean, sharp cuts.
Choosing the right adhesive is crucial. It needs to be strong to keep your pop-up elements in place, yet not so bulky that it bulges or interferes with the card's mechanism. Double-sided tape or a glue stick generally works well for areas requiring a smooth, flat bond, while liquid glue or a glue pen might give you more control for detailed work.
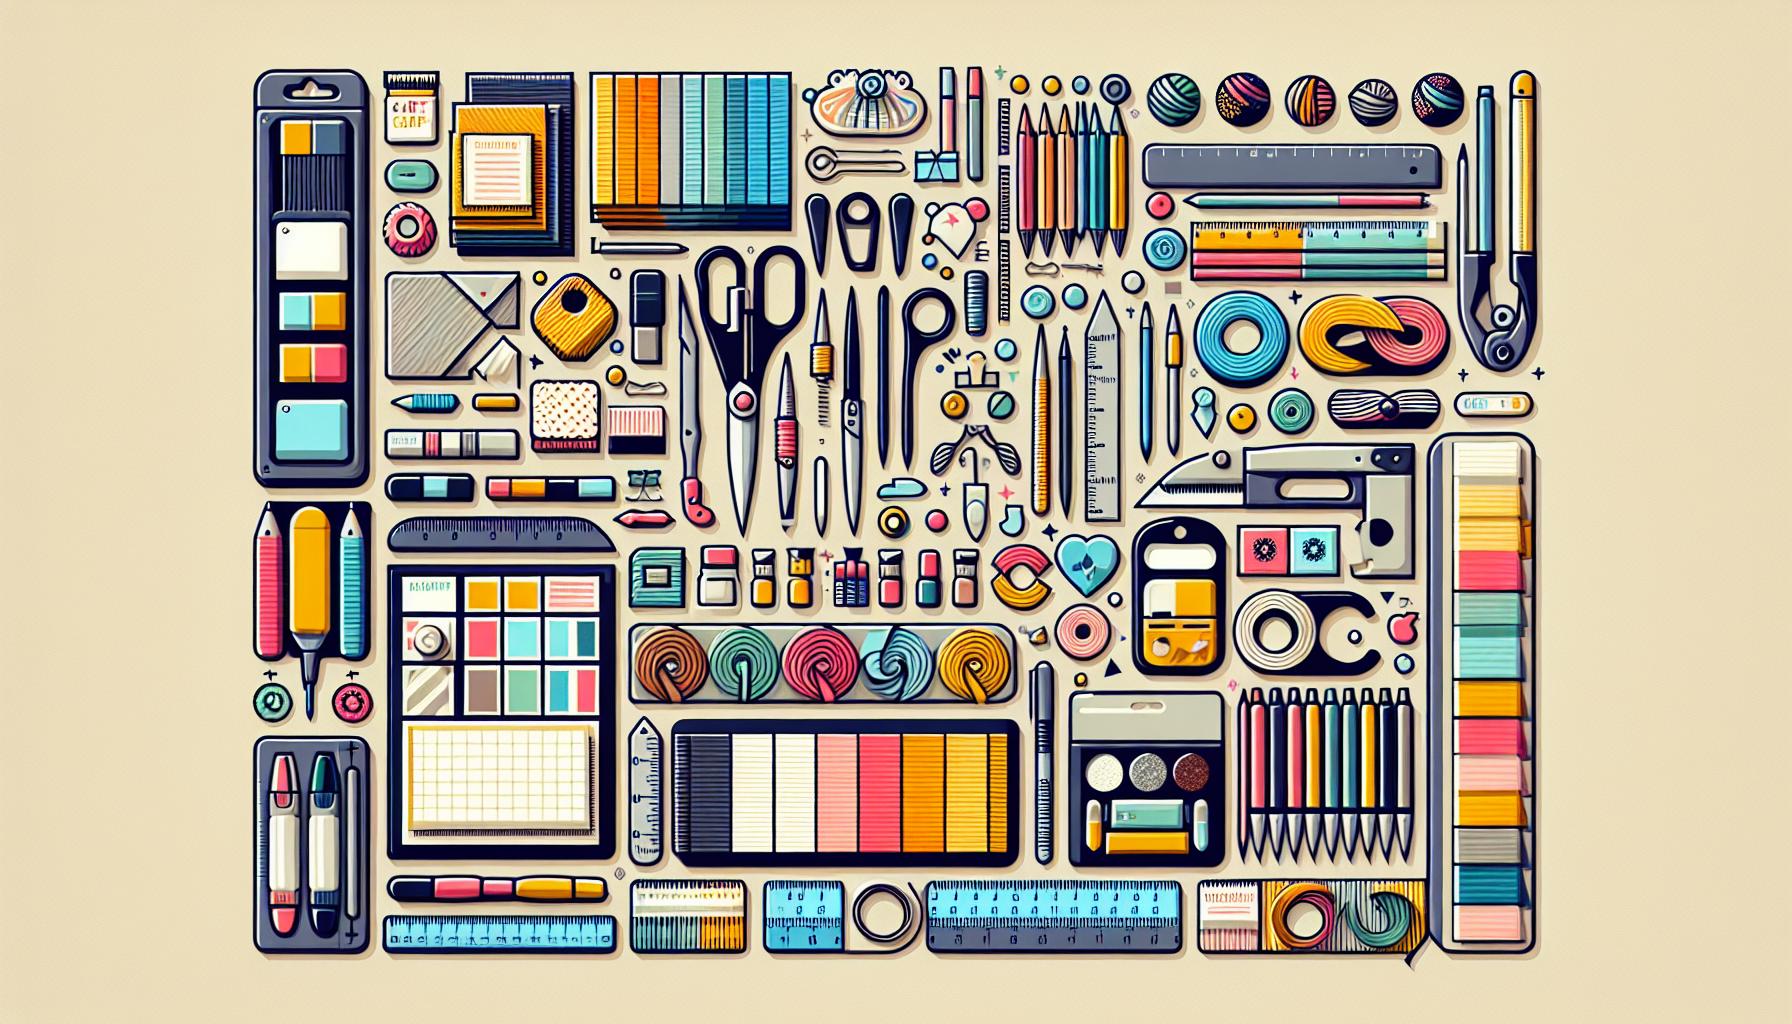
Here's a basic list of supplies you might find useful:
- Cardstock in various colours
- Precision cutting tools (craft knives, scissors)
- Ruler or straight edge
- Adhesive (double-sided tape, glue sticks, liquid glue, glue pens)
- Bone folder or a blunt edge tool
- A scoring tool or an empty ballpoint pen for creasing folds
- Colouring tools, such as markers or pencils
- Embellishments like glitter, stickers, or ribbons
Remember, your choice of materials can enhance the visual appeal of your card. Textured or patterned cardstock can add a special touch, and don't shy away from using non-traditional colours if they suit your design. It's worth considering a variety of embellishments; something as simple as a ribbon can elevate a card from lovely to outstanding.
For those new to crafting, don't be intimidated by the idea of gathering these supplies. Most can be found at a local craft store or easily ordered online. Once you have your supplies in hand, you'll be all set to begin the exciting process of making your card take shape.
Designing the Pop-Up Element

When it comes to crafting the pop-up element in your Easter card, creativity knows no bounds. The key aspect of a successful pop-up is its ability to surprise and delight when the card opens. I've discovered that starting with simpler designs can help me grasp the basic mechanics before moving on to more complex structures.
For beginners, here are a few easy pop-up designs to try:
- Simple cut-out shapes like Easter eggs, bunnies, or flowers
- Floating layers to create a sense of depth within the card
- Rotating elements that flutter or twirl when the card is opened
Remember that the position and angle of the pop-up will impact its effectiveness once the card is open. You'll want to test the folding and unfolding action to ensure the pop-up works smoothly. Sometimes, modifications are necessary to achieve the perfect pop-up motion.
If you're more experienced, or feeling adventurous, consider:
- Multi-layered scenes depicting an Easter basket or a garden
- Interactive elements such as Easter egg hunt scenes with hidden surprises
- Intricate cut-outs that mimic the delicate patterns of an Easter egg
For precise and detailed work, a crafting knife and a cutting mat are your best friends. With these tools, I can easily maneuver around tight corners and create detailed shapes that add an extra wow factor to my cards.
To add a burst of color and texture to my pop-up designs, I often use:
- Colored cardstock
- Felt or fabric pieces
- Ribbons or lace
- Sequins or stickers
These additions not only make the pop-up stand out but also add a personal touch to each card, making them as unique as the season itself. Don't be afraid to mix and match materials. In my experience, the most memorable cards are the ones that showcase a blend of imagination and artistry.
Cutting and Folding the Card
Once you've settled on your design, the next step is getting your card into shape – literally. Cutting and folding are critical to the creation of your pop-up Easter card, and there's a method to ensure these steps are done correctly. First, I select a high-quality cardstock that’s sturdy enough to hold the pop-up elements but flexible enough for smooth folding. I recommend going for medium-weight cardstock for the best results.
When it comes to cutting, precision is key. I use a sharp crafting knife rather than scissors for intricate designs, as it allows for finer detailing. Remember, always cut against a cutting mat to protect your work surface. For the simplest pop-up feature, cut two parallel lines in the centre of your card and carefully push the cut piece forward, forming a basic pop-up tab.
Folding Techniques
After cutting, folding your card properly can make all the difference between a pop-up that stands up proudly or one that flops disappointingly. I always score the fold lines before making any folds. Scoring creates a guide that ensures a crisp, clean fold and can be done using a bone folder or the back of a knife. Here are the basic folds I use in my projects:
- Valley fold: The paper is folded towards you, creating a 'V' shape in the card.
- Mountain fold: The paper is folded away from you, forming an inverted 'V'.
Each design element in your Easter card may require different folding combinations. For instance, a pop-up chick might use a simple valley fold to spring forward, whereas an intricate Easter basket could combine both mountain and valley folds to add depth. My top tip is to practice folding on a separate piece of paper before committing to your actual card – this way, I ensure I don’t make any mistakes that might ruin the card's aesthetic.
With your cutting and folding complete, you’re now ready to move onto the next crafty phase: adding the decorative flair to your card. Whether it’s colourful backgrounds or sticking on additional decorative elements, the personal touches are what truly bring your pop-up Easter card to life.
Adding the Finishing Touches
Once the basic structure of your pop-up Easter card takes shape, it's time to embellish. Decorative elements are key to crafting a card that truly pops. Firstly, selecting the right embellishments can accentuate the theme, whether it's springtime blossoms or Easter bunnies. Here are some popular choices:
- Stickers: Quick and easy to use, stickers can fill in empty spaces with patterns or characters.
- Glitter: A touch of sparkle can go a long way, but remember to use it sparingly to avoid a messy look.
- Ribbons: Tying a ribbon in a bow around the card adds an elegant touch.
For a 3D effect, I often use foam tape or pads to give my decorations a lift off the page. This creates depth and shadow, which enhances the pop-up effect.
Attention to detail is what sets a handmade card apart from the rest. So, it's worth spending time on the finer points—like using a fine-liner pen to add facial features to cut-out characters or to outline letters for added definition.
If you're planning on incorporating handwriting or calligraphy, practice on scrap paper first. This ensures a clean, confident script that won't require any do-overs on your final piece.
Integration of the decorative elements with the pop-up mechanisms is crucial. Ensure that added decorations don't interfere with the moving parts. There's nothing worse than a pop-up element snagging on an embellishment as the card opens. Plan the placement of each component wisely, always open and close the card to test the mechanics after each step.
A final touch often overlooked is the envelope. Creating a custom envelope that hints at the wonder inside can set the tone even before the card is opened. Using coordinating papers or repeating a design element from the card onto the envelope brings cohesion to the presentation.
Remember, the joy is in transformation from a simple card to a multi-dimensional Easter surprise that unfolds in the hands of your loved one.
Conclusion
Crafting your own pop-up Easter cards is a delightful way to add a personal touch to your holiday greetings. With the right embellishments and a keen eye for detail, you can transform a simple card into a festive keepsake. Remember to always check the pop-up mechanisms to ensure your card functions as beautifully as it looks. And don't forget the final touch—a custom envelope that adds to the charm and surprise. There's nothing quite like the joy of receiving a handmade card so take pride in your creation and get ready to spread some Easter cheer!
Frequently Asked Questions
How can I enhance the appearance of my pop-up Easter card?
To enhance your pop-up Easter card, consider adding stickers, glitter, ribbons, and foam tape. These decorative elements can add dimension and appeal to your card.
What should I pay attention to when making pop-up Easter cards?
It's important to pay attention to detail. Use a fine-liner pen for delicate facial features and practice handwriting or calligraphy to ensure neatness. Ensure decorative elements don't interfere with the pop-up mechanism.
Is it necessary to test the pop-up mechanism?
Yes, it's crucial to test the pop-up mechanism after adding each decorative element to ensure the card functions correctly. This helps avoid any last-minute issues.
Why is creating a custom envelope important?
Creating a custom envelope is significant as it complements the overall design and presentation of your pop-up Easter card, making it a complete and thoughtful gift.
Sign up for more like this
© 2024 Silly Robot Cards. All rights reserved