Creative Handmade Birthday Card Ideas for Your Mum: Make Her Day Special
Mattheu McBarnett
December 30, 2023 · 8 min read
Idea 1: Floral Watercolor Card |
Idea 2: Pop-up Butterfly Card |
Idea 3: Embossed Heart Card |
Idea 4: Quilled Flower Card |
Idea 5: Interactive Slider Card |
Conclusion |
Frequently Asked Questions |
What is an Interactive Slider Card? |
How can I make an Interactive Slider Card? |
What makes the Interactive Slider Card special? |
Can I create an Interactive Slider Card at home? |
When it comes to showing love for our mums, nothing beats a heartfelt, handcrafted birthday card. It's a small gesture that packs a lot of emotion, and I'm here to help you make it special.
In this blog, I'll share some creative ideas for birthday cards that you can easily make at home. From simple and sweet to crafty and chic, there's something for everyone.
So, whether you're a seasoned DIYer or a total newbie, don't worry. I've got tips and tricks that'll make your mum's birthday card the highlight of her special day.
Idea 1: Floral Watercolor Card
Nothing says love quite like a hand-painted card. If you're interested in creative hobbies, then you're in luck because the first DIY card idea features a medium you're likely familiar with: watercolour. And the recurring theme? Delicate flowers - an ideal choice to symbolize the beauty, strength, and grace of your mum.
In this project, you'll need your watercolour set, brushes, watercolour paper, a fine liner pen, and your creative mind. You might already have these materials lying around the house. If not, they're readily available at your local crafts store.
First up, choose your flowers. Opt for your mum's favourite blossoms or pick typical, easy-to-paint species like roses, daisies, or lavender. Now, let's get to the actual crafting bit.
- Sketch out your design: Use a pencil to lightly sketch your flowers and any additional elements you want to add. Don't worry if you're not the perfect sketch artist - the charm of homemade cards lies in their imperfections.
- Start painting: Grab your brush - it's time to bring your flowers to life. Start with lighter washes of colour, and gradually add darker tones to create depth and dimension in your flowers.
- Ink: After your painting has completely dried, go over the outlines and details with your fine liner pen. This step brings out the intricacies of your design and gives it a polished look.
Remember that this is your gift to your mum, so feel free to tailor this process to suit your skill level or your mum's personal taste.
Deviating from the norm isn't a no-go. It's about creativity, expressing your feelings, and ultimately bringing a smile to your mum's face on her special day. So, if you feel like adding a touch of glitter or a ribbon - don't hold back!
From my experience, floral watercolour cards offer a personal touch while showcasing the love and effort you put into the crafting process. Best of all, it's a fun and relaxing endeavour. Plus, the end result? A one-of-a-kind piece of artwork that your mum can proudly display.
Let's explore our next DIY card idea to further harness your creativity and make your mum's birthday truly memorable.
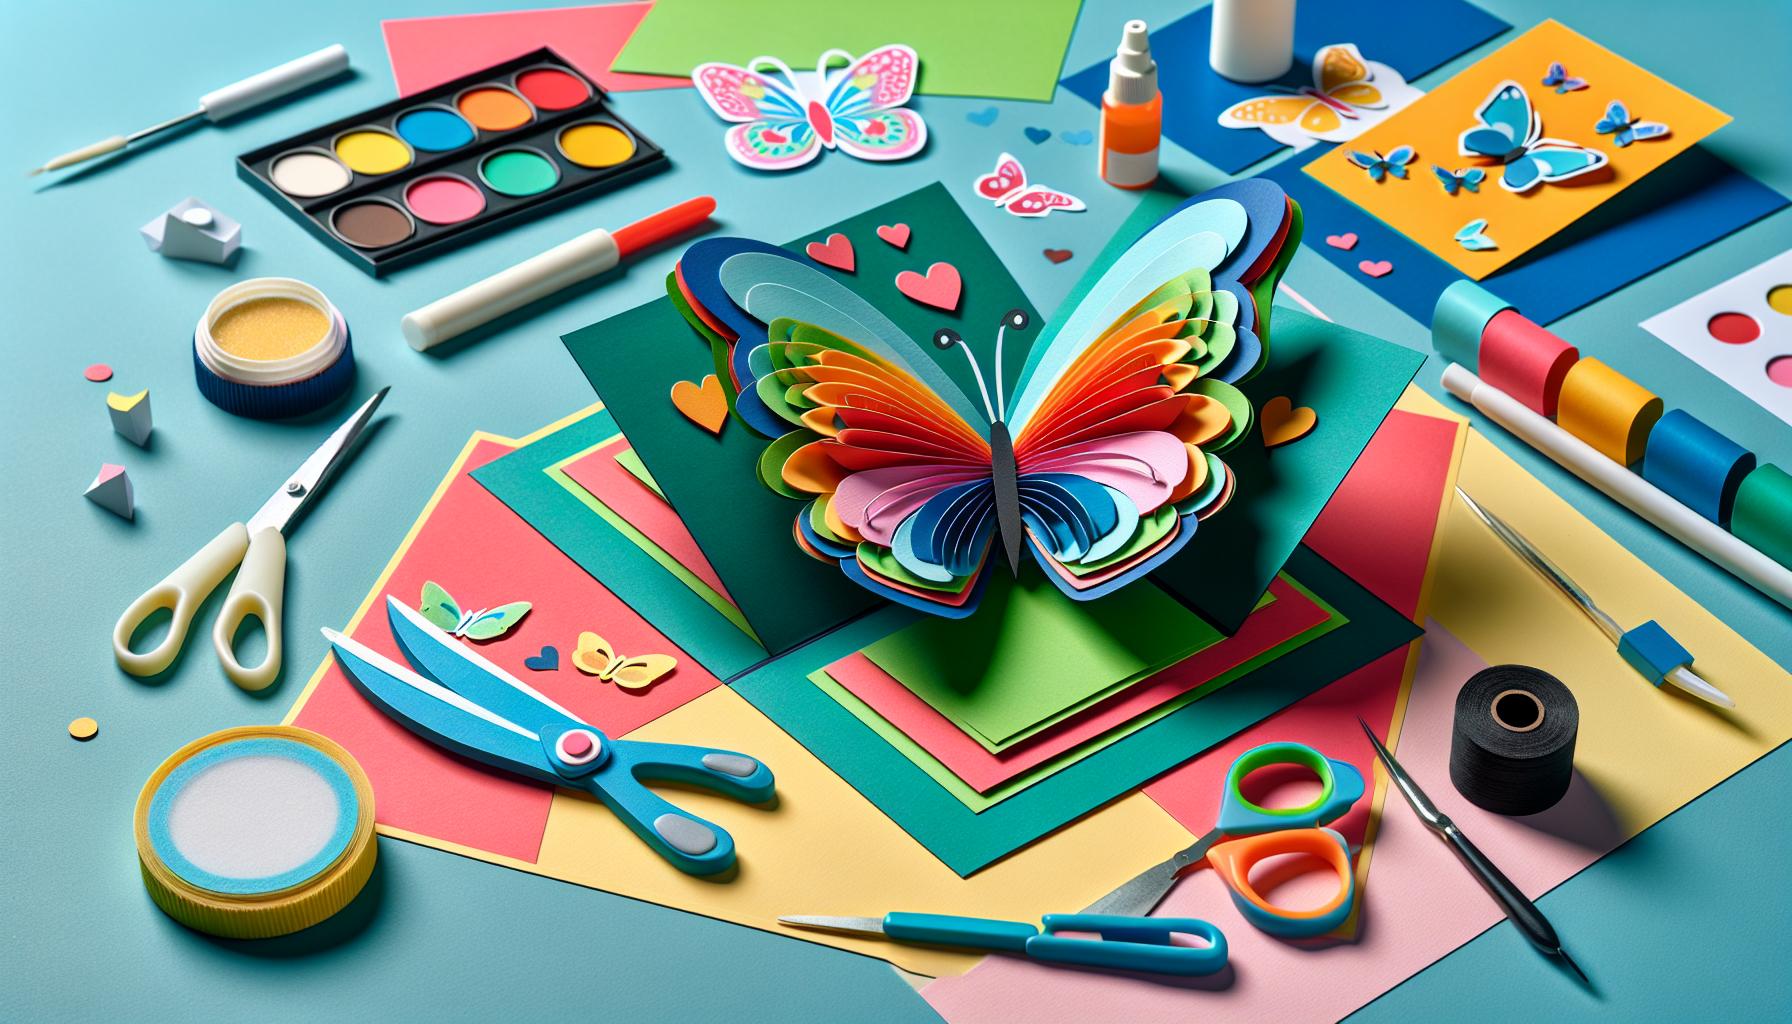
Idea 2: Pop-up Butterfly Card
Moving on from the tranquillity of floral watercolour; let's add a dash of excitement. How about a Pop-up Butterfly Card? This card style has never failed to impress; after all, who wouldn't get a thrill from opening a card and having a beautiful butterfly spring forth?
Before I delve into creating this masterpiece, I must point out it's a tad more intricate than our previous DIY floral watercolour card. That said, there's no need to feel daunted. This project can be accomplished by anyone with a bit of patience and a flair for crafting.
Your supplies for this task include the following:
- Colourful thick paper or cardstock (for the butterfly)
- Glue or double-sided tape
- A blank greeting card
- Scissors
- Pencil
- A printout of a butterfly template (available online)
To start crafting, slightly fold the thick paper or cardstock in half. Then using the butterfly template, draw an outline of the butterfly on the fold of the paper. Afterwards, carefully cut along the outline, making sure you don't cut the folded base of the butterfly. Once you've cut out the butterfly, pop it out so its wings stand up. Voila! Your pop-up butterfly is ready!
To add to the magic, attach your butterfly on the inside of the card using glue or double-sided tape, and ensure it's flat when the card is closed. Now bid adieu to the traditional, flat cards and welcome your new 3D marvel!
An additional touch would be using contrasting colours or embellishments like pearls or sequins to bring your butterfly to life. And let's not forget, personalisation is key. Add a heartfelt message for your Mum inside the card and perhaps, some charming decoration on the front cover.
Idea 3: Embossed Heart Card
The next DIY card that's sure to impress your mum is the Embossed Heart Card. This card, with its tactile texture and chic appearance, adds a delicate touch that is bound to tug at your mum's heartstrings.
Creating an embossed card might sound somewhat intimidating, especially if you've never tried it before. Yet, it's surprisingly easy and demands little more than a few basic tools: an embossing stylus for those smooth raised edges and embossing paper. Start with a design - in our case, a heart - then illuminate it by pressing down with the stylus from the back of the paper. This inverted pressure art gives your birthday card a unique signature touch.
Personalisation is key in all homemade creative endeavours. In the Embossed Heart Card, you can draw attention to the heart's design by incorporating your mum's favourite colour or add a sprinkle of glitter for added sparkle.
We've got some crafty layering techniques up our sleeve for this special occasion, make your card multi-dimensional by layering several heart designs. For instance, a large red heart with a smaller pink heart inside. This creates a visually appealing depth and promises to win over your mum.
As with our previous ideas, remember to couple your beautiful embossed card design with a heartfelt message. Speak directly from your heart - tell her how much you appreciate her, what she means to you. Little things like these make a world of difference.
Awash with love and steeped in creativity, our embossed heart birthday card is geared towards making your mum's day extra special.
Now that we've explored the Embossed Heart Card, let's plunge into our next creative outlet for more DIY birthday card inspiration.
Idea 4: Quilled Flower Card
Imagine this: A garden blooming with vibrant flowers; only it's compressed into an enchantingly detailed card. That's what quilling does. It's a paper art technique where you roll narrow strips of paper into various shapes and use them to create designs. For a birthday card, there's nothing more fitting than a bunch of quilled flowers.
It's the style and appeasement of a quilled flower card that grabs one's attention. These flowers can come in any form you wish: from daisies and roses to abstract floral patterns that lift off the card.
Now you'd think that it's a hard task, working with quilled flowers.
- Start with small strips of paper
- Roll them up tight
- And let them uncoil just a bit to achieve the shape you want
- Use some glue to fix the shape
Creating individual petals and then combining them to make a full blossomed flower, it's unique yet simple.
Your mum's favourite colour? That's the colour your flowers should be. A bit of personalisation there.
Continue to indulge in the personal touch. Write a note that touches the heart. Glue it on the inside of the card before you affix the flowers.
What your mum sees first is the quilled flowers, but the note when she opens the card will truly move her. There's all the beauty on the outside, but it's the love on the inside that counts.
Note: You don't need fancy material. A tool to roll the paper, strips of coloured paper, some glue and a card base.
As you leave an indelible impression with the quilled flower card, remember it's the thought that counts. You can find more detailed instructions online, with multiple templates to choose from. Make a card as unique as your mum.
Idea 5: Interactive Slider Card

As we delve deeper into homemade birthday card ideas, we reach our fifth suggestion: the Interactive Slider Card. Not only does it stands out due to its unique operational design, but it also adds a touch of fun and excitement to the birthday card experience.
Crafting an Interactive Slider Card might sound intimidating initially. However, it's much simpler than you might think. All it requires is a bit of patience, precision, and of course, love.
To create a slider card, we'll start with a sturdy cardstock as base, which will form the main structure of the card. Next, you'll need to cut out two parallel slots, about an inch apart on the bottom part of the card, to serve as a track for our slider element. The trick here is to ensure the cut-outs are proportionate and uniform.
Onto the slider mechanism. We will need an extra piece of cardstock, a bit smaller than our card base, where we can attach our main image. This part will use the slots and scroll horizontally across the card adding an interactive effect.
What's more, you can also customise the image according to your mum's preferences. Whether it's a picture of her favourite flower, a lovely snapshot from an unforgettable moment or even a cute illustration, it's entirely up to you. Personalisation is the key here.
One of the best parts about the Interactive Slider Card is that it gives added room for a sweet, heartfelt message. You can write your note on the slider part itself. As your mom pulls the slider, she not only sees the striking image but also uncovers a special birthday message that's been hidden in plain sight.
No doubt, the Interactive Slider Card is an innovative and fascinating idea for a homemade birthday card. It's unique, personal and full of surprise, and brings forth a sweet and memorable moment in time. Remember the aura of surprise and joy that it generates can undoubtedly make your mom's special day even more exceptional.
Conclusion
So there you have it. Crafting a unique birthday card for your mum can be a fun and rewarding experience. The Interactive Slider Card is just one of many innovative ideas you can explore. It's not just about the card itself, but the personal touch and the joy it brings when your mum uncovers that hidden message. It's these little surprises that make homemade cards so special. Remember, it's your mum's birthday, so let your creativity shine and show her how much she means to you. After all, nothing says 'I love you' quite like a personalised, handmade card.
Frequently Asked Questions
What is an Interactive Slider Card?
An Interactive Slider Card is a type of DIY birthday card highlighted in this article. It features a movable element, which when slid, reveals a hidden message. The card adds fun and excitement to the traditional birthday card experience.
How can I make an Interactive Slider Card?
The article provides comprehensive step-by-step instructions to make this card. The process involves cutting parallel slots on the card base for the slider to move along. By following these, you'll have your personal interactive slider card ready in no time.
What makes the Interactive Slider Card special?
This card is unique due to its personalisation aspect. The interactive slider element adds a surprise factor, bringing joy to the recipient when they uncover the hidden birthday message. It's a creative way of expressing your sentiments on the special occasion.
Can I create an Interactive Slider Card at home?
Absolutely! The article lays out simple and clear DIY steps for creating an interactive slider birthday card. All you need are basic crafting materials and a dash of creativity. Your homemade birthday card will surely bring a smile to the birthday celebrant's face.
Sign up for more like this
© 2024 Silly Robot Cards. All rights reserved